I like having my wip in baskets. It is neater and I feel so organized. So, here are two ways to make granny square plarn baskets.
For the first way, make 5 granny squares, 1 for the bottom, and 4 for the sides.
www.crochetingwithval.blogspot.com/2014/06/granny-square
They all need to be the same size. So, decide how big you want the bottom, and how tall you want the sides. You could make it taller by putting another row of 4 granny squares over the first row of 4.
To join, you have 2 choices. For a tighter join, use slip stitches.
www.crochetingwithval.blogspot.com/2014/06/finishing-off-slip-stitch-joining
For a more open join:
www.crochetingwithval.blogspot.com/2014/06/granny-square-afghan
The second way to make the basket has no joins and is worked entirely in rounds.
Ch 4(starting chain, dc). Dc in 4th chain from hook (starting chain). Ch 2, 2dc in starting chain. Ch 2, 2 dc in starting chain. Ch 2, 2 dc in starting chain. Ch 2, join with sl stitch to first dc (ch 4 of beginning chain). 4 dc and 4 ch 2 spaces.
Start spiral. Ch 1, sc in same space as joining. 2 hdc, ch 3, 3 dc in same space. 1st corner. Ch 2. 3 dc in next space. Ch 3, 3 dc in same space. 2nd corner. Ch 2. In next space, work 3 dc, ch 3, 3 dc. 3rd corner. Ch 2. In next space, work 3 dc, ch 3, 3 dc. 4th corner.
Ch 2. In space between the hdc and dc (1st corner), work 3 dc, ch 3, 3 dc. Ch 2. In next space, work 3 dc, ch 2. In space of 2nd corner, work 3 dc, ch 3, 3 dc, ch 2. In next space, work 3 dc, ch 2.
Continue working 1 3 dc groups in the side spaces with 2 chains on either side. And working 2 3 dc groups in the corner spaces with 3 chains between them.
Continue working the spiral until the bottom is the size you want.
This has been increasing so the bottom would lie flat, but now, to get the sides to curve up, you have to stop increasing.
Now, in every space around, work 3 dc, ch 2.
When it is tall enough, you can add handles, unless you want to just use the holes of the pattern for finger holes.
www.crochetingwithval.blogspot.com/2015/05/plarn-basket-tote-tray
Or just finish it off by tapering down:
In next space, work 3 hdc, ch 2. In next space, work 3 sc, ch 2. In next space work 2 slip stitches, finish off.
Monday, April 25, 2016
Monday, April 18, 2016
Special Stitch: Picot
The picot stitch is generally used in the edging row.
 It adds visual interest. I have slightly changed how I make picots from how the patterns usually are:
Ch 5, sc in fifth ch from hook. Somehow, I never liked how that looked.
So, instead, in this case, I would ch 5, sc in same stitch (sc or dc) where the chain started.
In other words, I will work the edging row per the pattern, until I come to the picot, work the number of chains it calls for, work another sc in the same stitch as the last sc before the chain, then continue the edging row. Some of these edging rows have loops instead of picots. Instead of sc in same stitch as beginning of chain, the pattern will say to skip some stitches. Longer chains will generally skip more stitches.


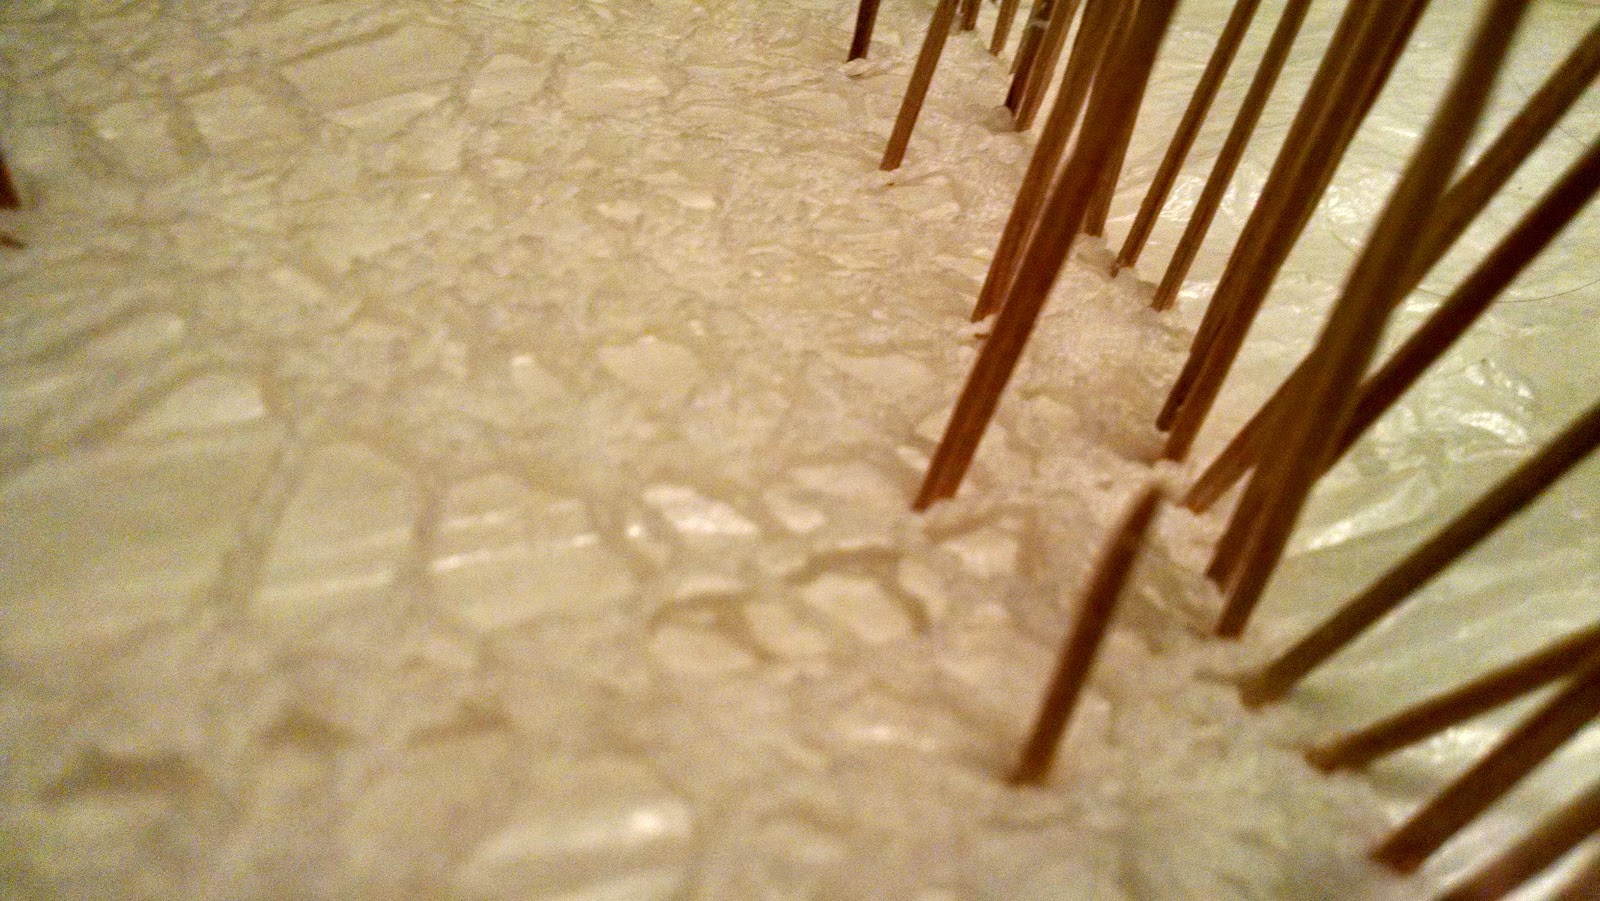
 These bigger loops are used for joining strips together. They also give me the perfect place for toothpicks when I'm blocking a finished project.

 Just my opinion, but I think picots in the finish edging look elegant.

Ch 5, sc in fifth ch from hook. Somehow, I never liked how that looked.
So, instead, in this case, I would ch 5, sc in same stitch (sc or dc) where the chain started.
In other words, I will work the edging row per the pattern, until I come to the picot, work the number of chains it calls for, work another sc in the same stitch as the last sc before the chain, then continue the edging row. Some of these edging rows have loops instead of picots. Instead of sc in same stitch as beginning of chain, the pattern will say to skip some stitches. Longer chains will generally skip more stitches.


Monday, April 11, 2016
I have enough lead time to make:
a crocheted Nativity set.
My daughter-in-law asked for this in November, I knew there wasn't enough time before Christmas at that point, and sadly I told her so. Then, my daughters saw it and wanted it, too! Well, it is too cute for words, and I want a set, too!
The pattern (and pictures) is at:
www.5littlemonsters.com
Posted on November 13, 2015, titled: crocheted Nativity set.
I like that the pieces are small and can (mostly) be made with left over yarn. I did buy some special colors. I didn't think my yarn colors would be bright enough for the Magi. I haven't found grey for the donkey, either. Who knows? I haven't dug all the way to the bottom of my left over yarn bags!
One other change: I use B B's for weights. I make the little bags as she said, but I use B B's to fill them. I'm not sure I'll make the star to be free-standing, either. I may fasten the dowel to the back of the stable.....
I have to get more of the set made before I decide.
Four Nativity sets added to my list of works in progress.......
Monday, April 4, 2016
Special Stitch: Cluster


*YO, insert hook in next ch 2 sp. YO and pull up a loop. YO and draw through 2 loops on hook. YO, insert hook in same sp. YO and pull up a loop. YO and draw through 2 loops on hook; repeat from * once more. YO and draw through all 5 loops on hook.
It's easier with the doily in your hands. After a couple of times, it's very easy. Different patterns may vary slightly.

Subscribe to:
Comments (Atom)