This is a 13 gallon trash bag, almost full of handles and ends cut off the plastic grocery bags to make plarn. This is from 2 months of trimming. I could take this to the recycling center, or I could find a use for them.
I think they'd make lovely stuffing for a cushion. The bleachers at my nephews' ball games and swim meets are hard and dirty. A plarn cushion should be easy to clean, so I'm going to make one.
I'm thinking of making it much like a bag. A 3 inch thick cushion should be soft enough. Since my base chain usually shortens as I work it, I'll start with a 4 inch chain.
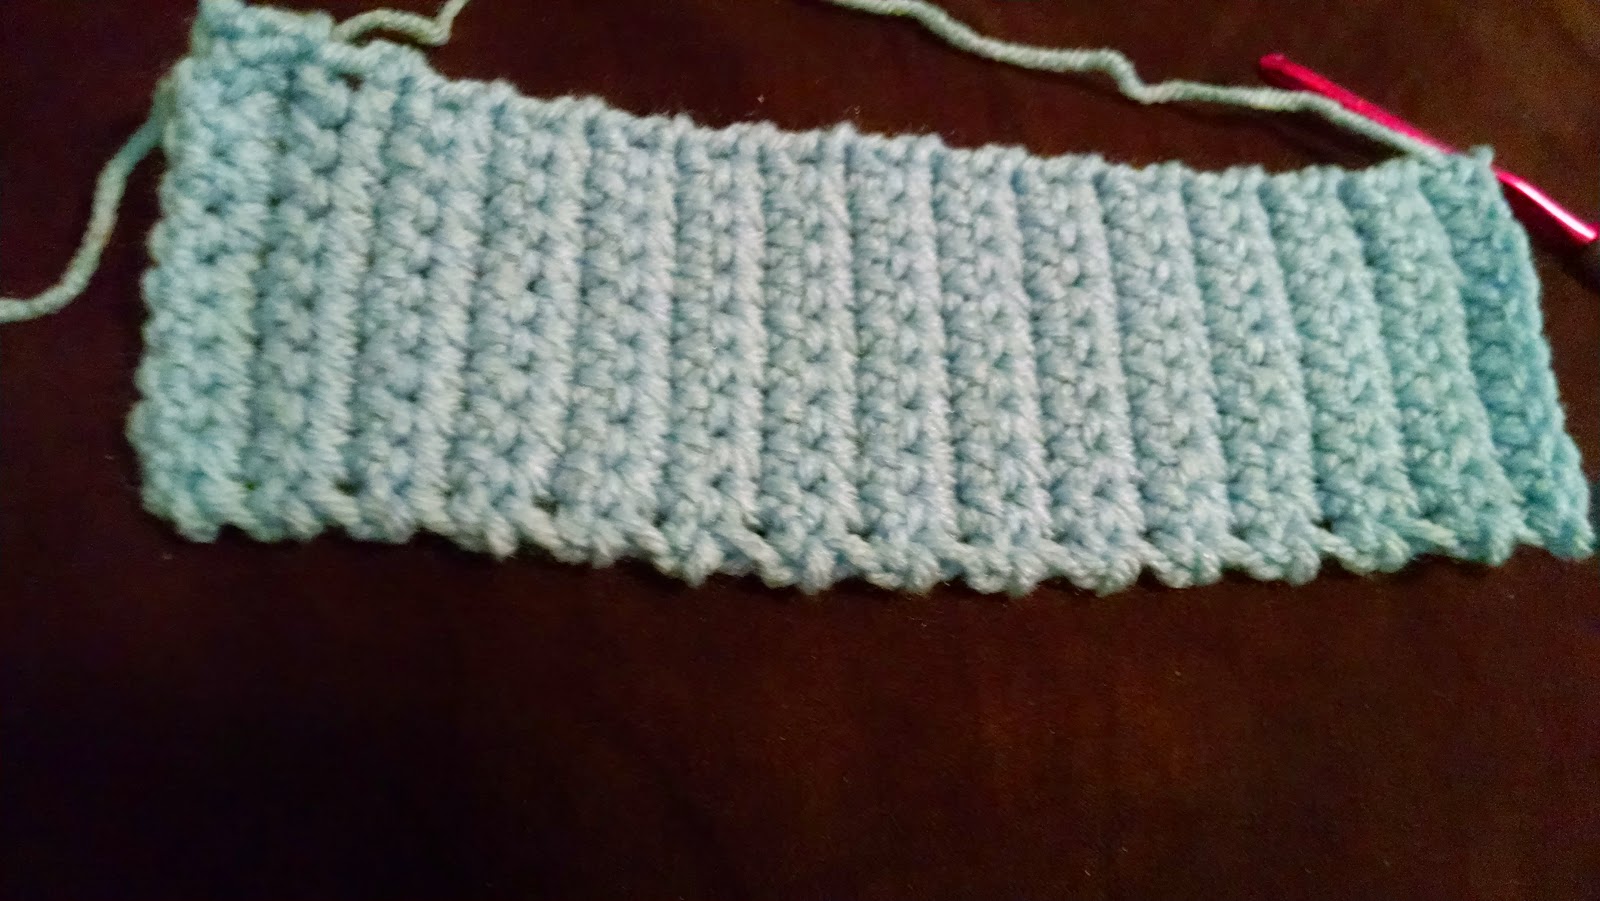
It didn't shrink as much as I expected! Oh well, it'll just be softer to sit on! I'm using dc stitches, since I'm not worried that the contents might slip through holes, which is why I use sc for shoulder bags. I measured the seat of a chair that is comfortable for me. A 16 inch square would cover that seat, so that's the size I'll make the cushion.
The dc goes much faster than sc. Its about 2 rows to an inch, and 4 stitches to an inch.
It took 34 rows to get 16 inches. I used safety pins to mark the corners, with 2 pins to mark the beginning of the rounds.
Working across the ends of the rows, dc evenly across to the next corner. For me, using an H hook, that means 2 dc in the side of each row. 2 dc in the side of 34 rows equals 68 stitches on the long sides. 68 times 2 = 136 stitches. 2 ends of 16 stitches is 32 more stitches, for a total of 168 stitches in each round. I'll need 34 rounds to make 16 inches. This is going to take some time to make!!
After the corner, work 1 dc in each stitch of row below. Continue working evenly to the start of the round.
Join with a slip stitch. Now, I could chain 3, turn and work 1 dc in each stitch around. Repeat until it was the size I want.
Instead, I'll join with a slip stitch...
Sc in the next stitch...
Hdc in the next stitch...
Dc in the next stitch. Then dc in the next stitch around. No more joining rounds, just keep working dc in next stitch until it's the right size...
This will take some time...
I've finished round 2, and worked a dc in the joining sl st, a dc in the sc, a dc in the hdc, and started to dc in each dc around. Only 32 more rounds to go.......
Then, I'll make a closing flap by working dc in rows over the 68 dc of the first long side, probably will need 8 rows.....
Stuff the cushion.......
Option 1: sl st along short side of flap to corner, with sl st join flap to edges of 3 remaining sides. For a handle, work 10 dc around posts of dc of a short edge. Work dc in rows until handle/strap is desired length. Sl st to cushion. Fasten off and work in ends.
Option 2: after finishing flap, finish off. Fasten a contrasting color of plarn at corner of cushion. Using sc, fasten flap to 3 open edges of cushion. Work sc around all corners of cushion. Your handle can be either same or contrasting color.
Pictures will be added as I find time to finish this project, but now, I really must get back to work on my capelet.......


 This is my capelet, in progress. It needs at least 7 more inches! It has shells around the pineapples. Shells are very much like v-stitches. These are made: in same space work: 2 dc, 2 ch, 2 dc. Some are made: in same space work: 3 dc, ch 3, 3 dc. The pattern will say how many dc and ch to use.
 This is a close up of one of my (set of 12) square pineapple doilies. The shells are 3 trc, ch 3, 3 trc. You can also see an increase.
 So, now you know v-stitch and shell stitch, 2 easy stitches which are basic to many beautiful patterns.